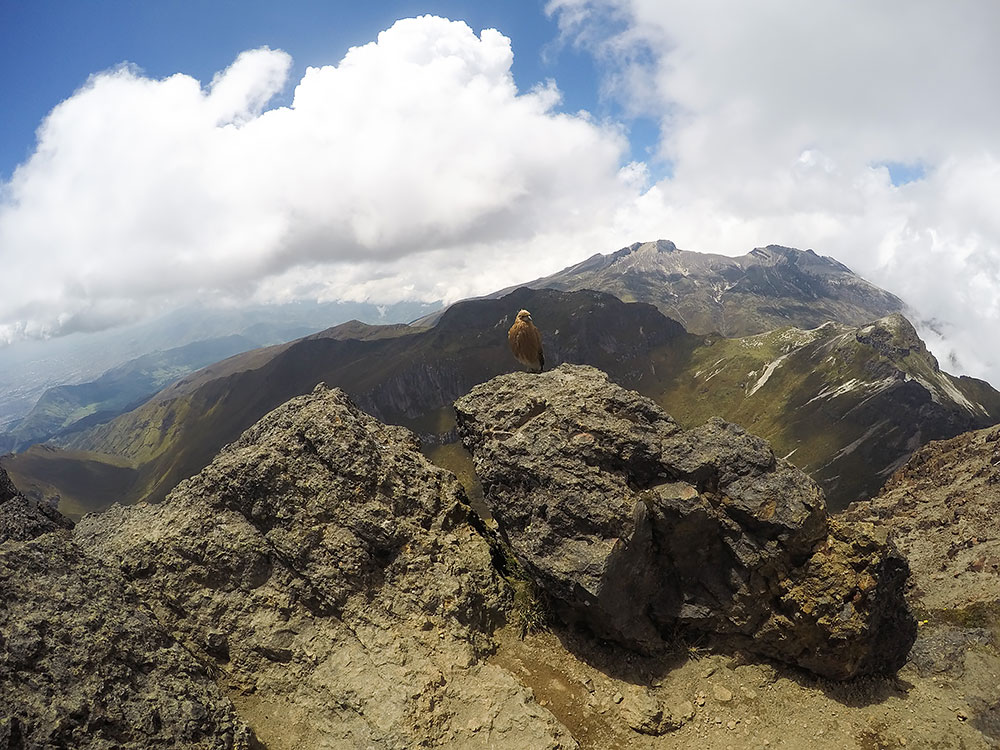
Experience the great outdoors in the city?! Count me in! Rucu Pichincha is the first volcano I have ever hiked and today, I am going to tell you how to climb this urban volcano yourself. Nature lovers, photography enthusiasts and experienced climbers, get your hiking boots on and your cameras out, here’s a step by step guide to hiking Rucu Pichincha!

When I first arrived in Quito three years ago, one of the first tips locals gave me to navigate the city was to simply keep in mind that Rucu Pichincha, the capital’s neighbouring volcano, is located on the eastern slopes of the city. From then on, the mountain has been my reference point. The summit I couldn’t take my eyes off and the view I wanted to wake up to in the morning. Today, some more traveling and ocean crossing later, I have climbed the volcano six times and would recommend getting lost (not literally) in the mountain to anyone visiting Quito!

Up and away from the city and yet at what feels like touching distance from Quito, Rucu Pichincha sits peacefully at almost 2000 meters above civilization. The views it offers and proximity to the city makes it a must do. Added bonus: you’ll be able to cross standing at over 45000m above sea level off your bucket list!
Getting there
There are actually two ways to climb Rucu Pichincha. You can either take the Teléferiqo up to 3,945 m or start your hike at Pinchincha foothills at Cruz Loma. I would, however, recommend riding the cable car and start your hike from where it will drop you off! A 20 minutes taxi ride (from the historical center area) will get you to the entrance of the Teléferiqo. Expect to pay between 3,5 and 5 dollars.


Riding the Teléferiqo
Quito’s cable car is actually one of the highest aerial lifts in the world. In fact, even if you don’t plan on hiking all the way to the top, taking the Telefériqo is worth it in itself. It’s open every day from 8:00 am to 8:00 pm and costs $8.50 per adult and $6.50 for children.


Hiking to the summit
From where the Telefériqo drops you off, it will take you between 3 and 4 hours to hike to the top and get back down. The trail is pretty clear and easy to follow until the arenal. Once you get to the sandy spot, you’ll have to pay a little more attention to follow to track, marked by white and red paint on the rocks. Once you made it past the arenal, you will only be a few rocks away from the summit. If it’s foggy though, be extra careful not to get lost in that last part and if it has rained, beware of slippery rocks.


What you should bring
As the climate in the mountain can be quite moody and go from sunny to freezing in a matter of minutes, I would recommend layering up and be ready for any kind of weather. Hiking gear checklist:
- Hiking boots
- A fleece jacket
- A waterproof jacket
- A pair of gloves
- A hat
- Sunglasses
- Headlamp (better safe than sorry)
- At least 1 liter of water
- A snack such as a power bar, a banana or chocolate
Don’t forget to put sunscreen on (even if it’s cloudy) and enjoy! Let me know in the comments if you’ve already hiked Rucu Pichincha or if you’re planning to do so! I would love to hear about your experiences.
Safe travels!
Céline


Leave a Reply